How To Page
ASSEMBLY INSTRUCTIONS:
*Purchase Angle Grinders – See “Resource Page” for Recommendations
*Angle Grinder: Refer to the manufacturer manual for safety, setup, and operation procedures, etc*
Before Assembly, Watch Video
*DO NOT ASSEMBLE WHILE POWER TOOL IS CONNECTED TO POWER SOURCE*
ALWAYS WEAR SAFETY EQUIPMENT PER OSHA & JOB SITE SAFETY REQUIREMENTS WHILE OPERATING PT SAW!

1 - Attach Handle to Angle Grinder
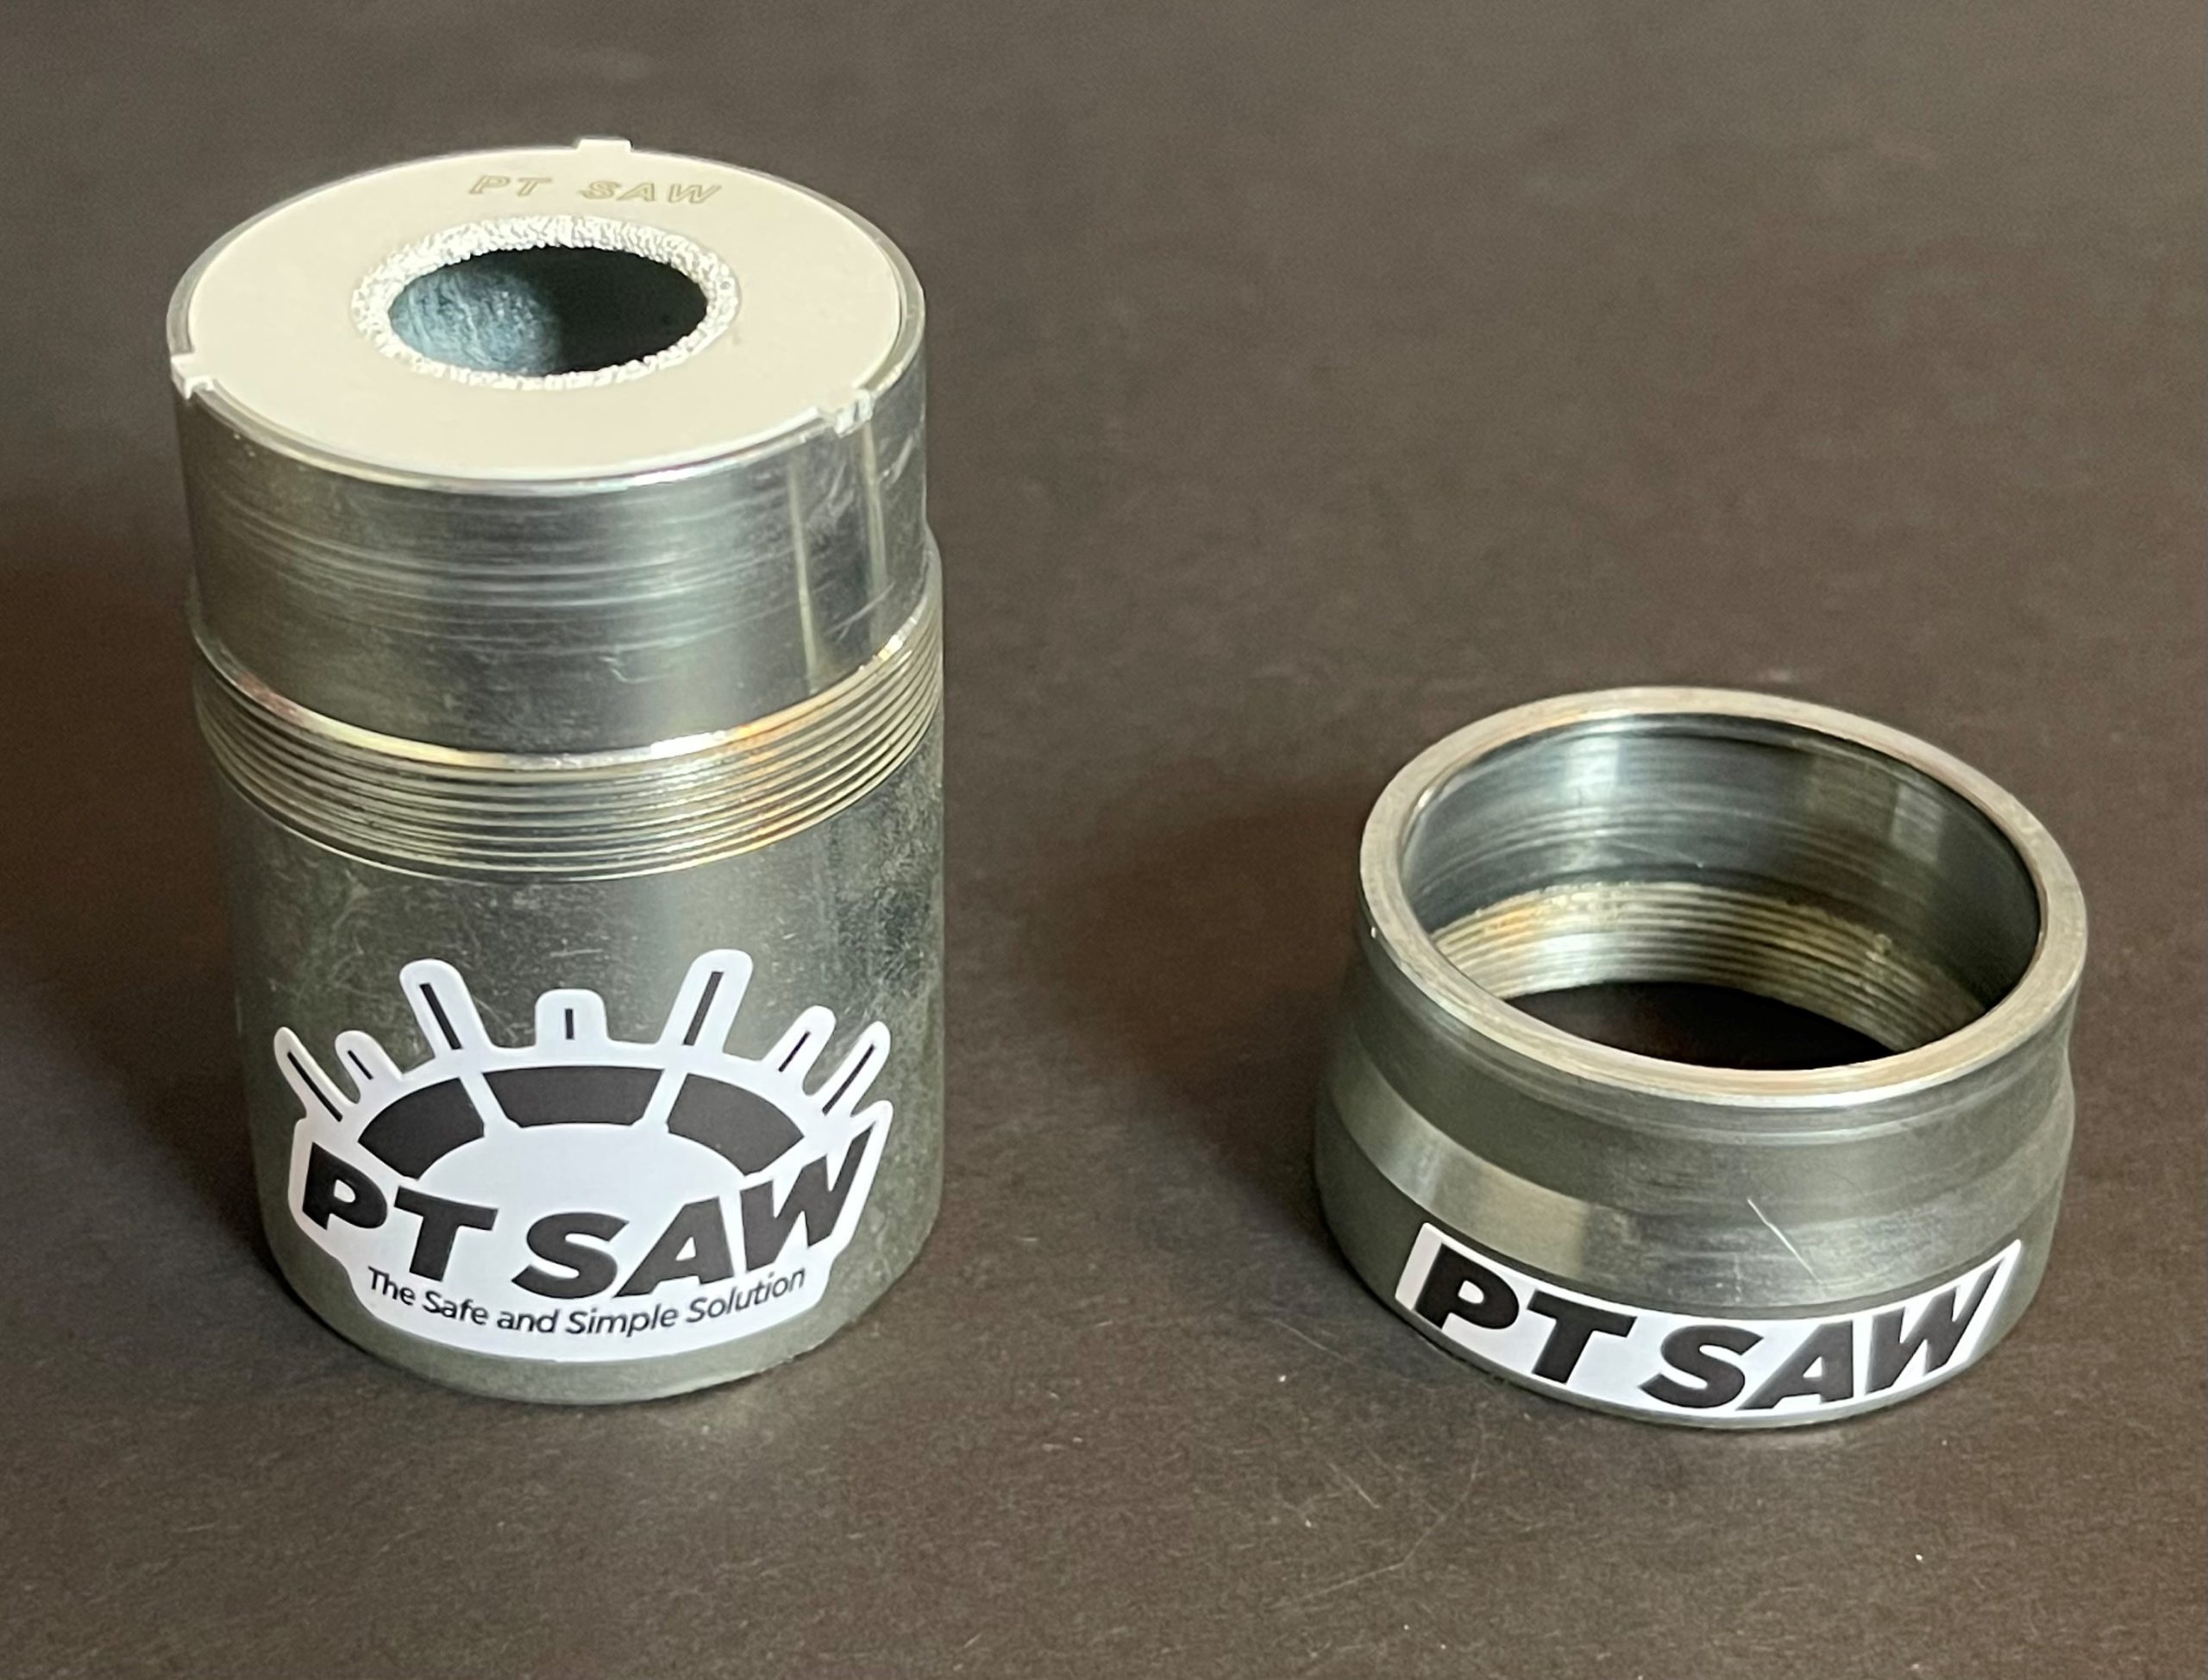
2 - With Housing Head removed from Housing Base – Align Tabs & Insert BLADE onto Housing Base

3 - Screw the Housing Head onto the Housing Base while Blade Tabs Remain in Tab Slots – HAND TIGHT ONLY – Head Clamps Down on Blade Tabs

4 – Place *Washer* (Included with Angle Grinder) – Onto the Spindle of Angle Grinder
5 - Screw the Assembled Housing/Blade onto the Angle Grinder Spindle – HAND TIGHT ONLY
6 - Attach Power Source to Angle Grinder while Switch is in the OFF Position – Battery Or Corded
7 - Test Connections - Safely Switch to ON position, ensure excessive vibrations are not present - Switch to OFF
OPERATION INSTRUCTIONS:
STEP 1 — CUT EXCESS STRESSING TAIL WITH CHOP SAW AT EDGE OF SLAB – 2-5 Seconds
-The shorter the tail from the wedges after this cut, the better!
– For Repairs, remove any materials as necessary to perform cut
– The same angle grinder used with PT Saw may be used to remove excess tails if needed
-Repeat Step 1 for all excess tails being trimmed
STEP 2 — SET BLADE DEPTH
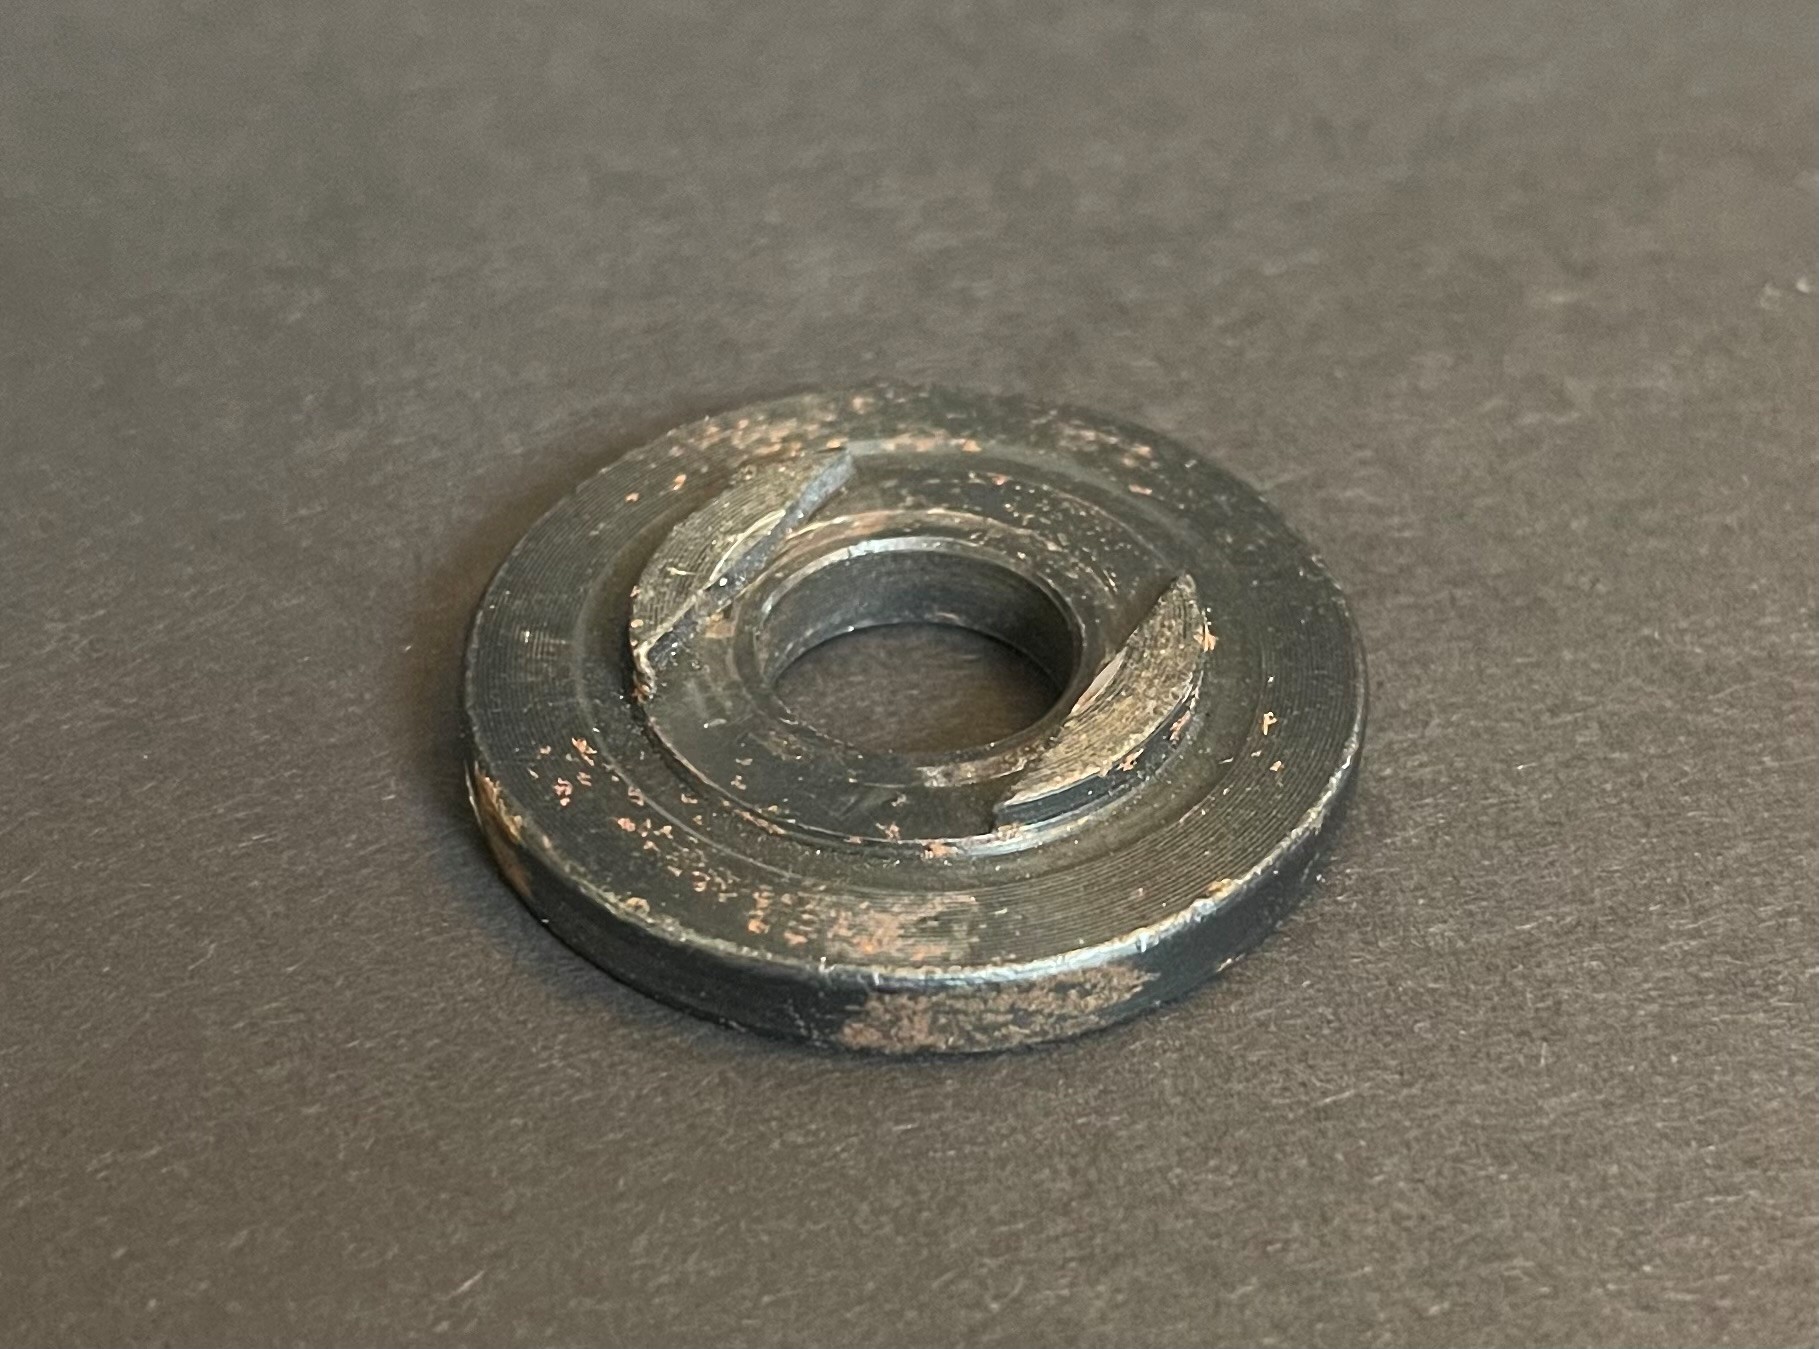
-Slide Blade Spacer onto a cut cable up against wedges.
-Use Blade Spacer to set Stop Adapter at the edge of the slab.
-Remove Blade Spacer from pocket. The Blade Spacer is 7/8” in length & used to set the Stop Adapter. This ensures cuts are made at a uniform depth in the pocket, not too close or far from the wedges.
– Use Blade Spacer as a Stop during cuts inside ANGLED POCKETS (where the Stop Adapter will not). Perform these cuts without grinding on the Blade Spacer.
STEP 3.1 — CUT A GROOVE on the Tail – 2-3 Seconds
– Insert Housing into Pocket – Tail into Housing, Switch grinder to ON position
– Score a Groove – With Blade lateral to cable, into the tail with 2 revolutions around the tail, ensuring the groove forms a complete circle
STEP 3.2 — RAPID COUNTER-CLOCKWISE ROTATIONS CUTTING INTO THE GROOVE – 7-59 Seconds
- AROUND & AROUND REPEATEDLY with Slight Pressure toward Tail Center Applied inside the Groove only UNTIL Tail is completely cut. Switch grinder to OFF
STEP 4 — REMOVE TAIL PIECES from Housing
-With Blade Opening facing down – SHAKE/JIGGLE/TAP until tail pieces fall through the Blade opening
-Dispose of tail cuttings properly
REPEAT STEPS 3&4 —
- When a blade “skates” when starting to cut the groove (difficult to start a cut), the blade is near the end of its life, it may be used to complete cuts started by a different blade
DISCLAMER:
*Angle Grinder: Refer to the manufacturer manual for safety, setup, and operation procedures
*DO NOT CUT STRESSING TAILS BEFORE APPROVAL IS GIVEN
*ALWAYS WEAR SAFETY EQUIPMENT PER OSHA & JOB SITE SAFETY REQUIREMENTS WHILE OPERATING PT SAW
*Do NOT assemble while grinder is connected to power source
*PT Saw shall not be held liable for any misuse of its products
*By using PT Saw – You agree to have read and understand and shall comply with and all federal, state, local, OSHA, PTI, ACI, owner, engineer, contractor, subcontractor, supplier PT Saw or others instructions; warnings, plans, specifications, labels, inserts, website, instructions, videos, and all other related information as it pertains to the use of PT Saw.
Contact Us